这篇文章主要是为了记录自己用 Hexo 建站(主题 NexT)的经过,方便他人查阅和自己以后用。
关于 Hexo 的准备,可以看官方文档 ,关于主题 NexT 的,可以看 这里
如果你是的阅读目的是准备第一次使用 Hexo 搭博客,可以遵照本文提示看。
如果你准备美化你的 Hexo(最好且主题为 NexT)的博客,可以跳到更多高阶美化
操作系统的异同
各种操作系统的过程基本一致。本文中的安装环境的主要做法是直接通过官网下载安装,其他下载方法也可行,这里不列举。
准备
下载、准备环境
如果还没有安装 Git ,去官网下载。Hexo 部署需要用到。
Hexo 是基于 Node.js 开发的,若未安装,需要先安装 Node.js ,两个版本都可以。安装完毕后打开终端检查:
$ node -v
v18.16.0
$ npm -v
9.5.1
$ npx -v
9.5.1
当三个命令都正常显示版本号时,就安装成功了。
随后,下载 Hexo 包。执行以下命令:
$ npm install -g hexo-cli

$ hexo -v
hexo-cli: 4.3.0
os: ...
# 出现一些依赖包的版本号表示安装成功
随后,可以开始建立站点文件夹了。执行以下命令初始化 Hexo 站点:
$ hexo init blog # 文件夹的名字,自己可更改,同下
$ cd blog
$ npm install此时,站点文件夹已新建完毕。目录大概是这样(...... 表示省略了很多文件):
.
├─ .github
│   └─ dependabot.yml
├─ node_modules
│   ├─ .bin
│   └─ ......
├─ scaffolds
│   ├─ draft.md
│   ├─ page.md
│   └─ post.md
├─ source
│   └─ _posts
│       └─ hello-world.md
├─ themes
│   └─ .gitkeep
├─ _config.landscape.yml
├─ _config.yml
├─ package-lock.json
└─ package.json
随后,可以在本地运行查看效果:
$ hexo server
INFO  Validating config
INFO  Start processing
INFO  Hexo is running at http://localhost:4000/ . Press Ctrl+C to stop.
端口占用
如果出现 FATAL Port 4000 has been used. Try other port instead. 说明默认的 4000 端口被占用。逐一排查或解决:
- 排查是否是 Hexo 已经运行了一个服务。(不同终端)
解决:终端内按 Ctrl+C 终止那个已经运行的 Hexo 服务。 - 排查有无其他应用占用端口
解决:关闭占用端口的应用。 - 以上两个方案都不可行。
解决:运行命令hexo s -p [number]更改端口。,[number] 为 4000 以上的数字,例如:hexo s -p 8080
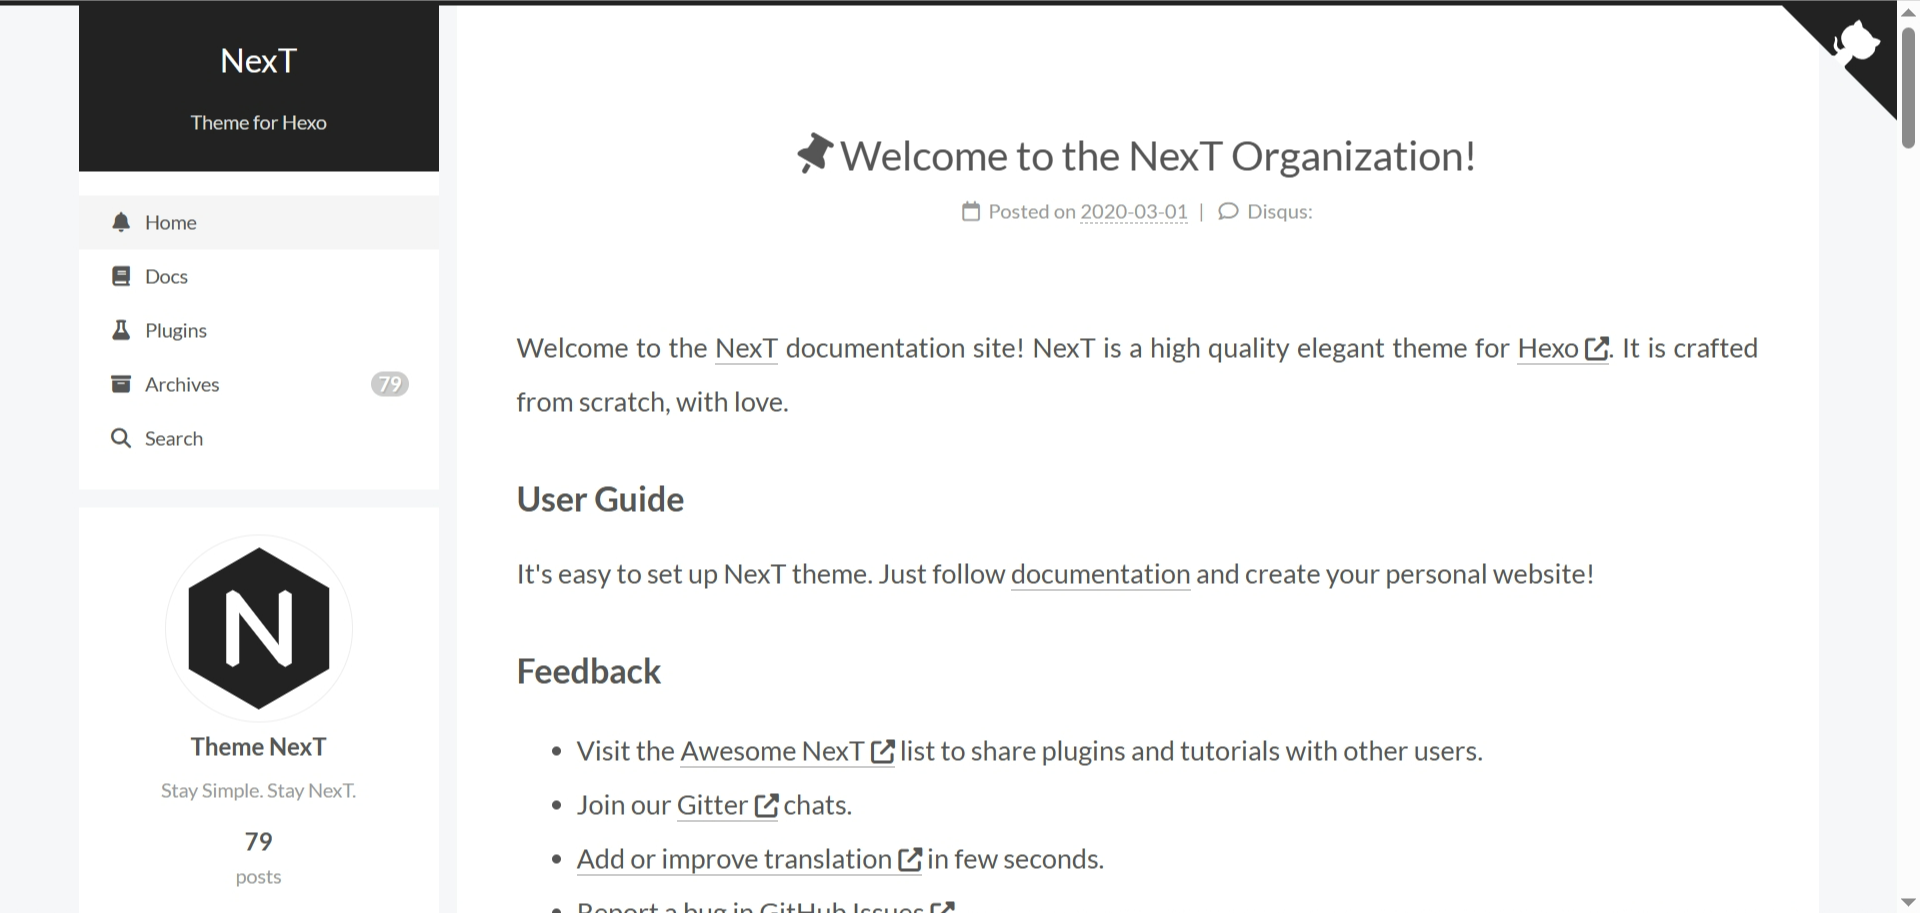
访问 http://localhost:4000/ 查看效果。初始的欢迎页面大概是这个样子: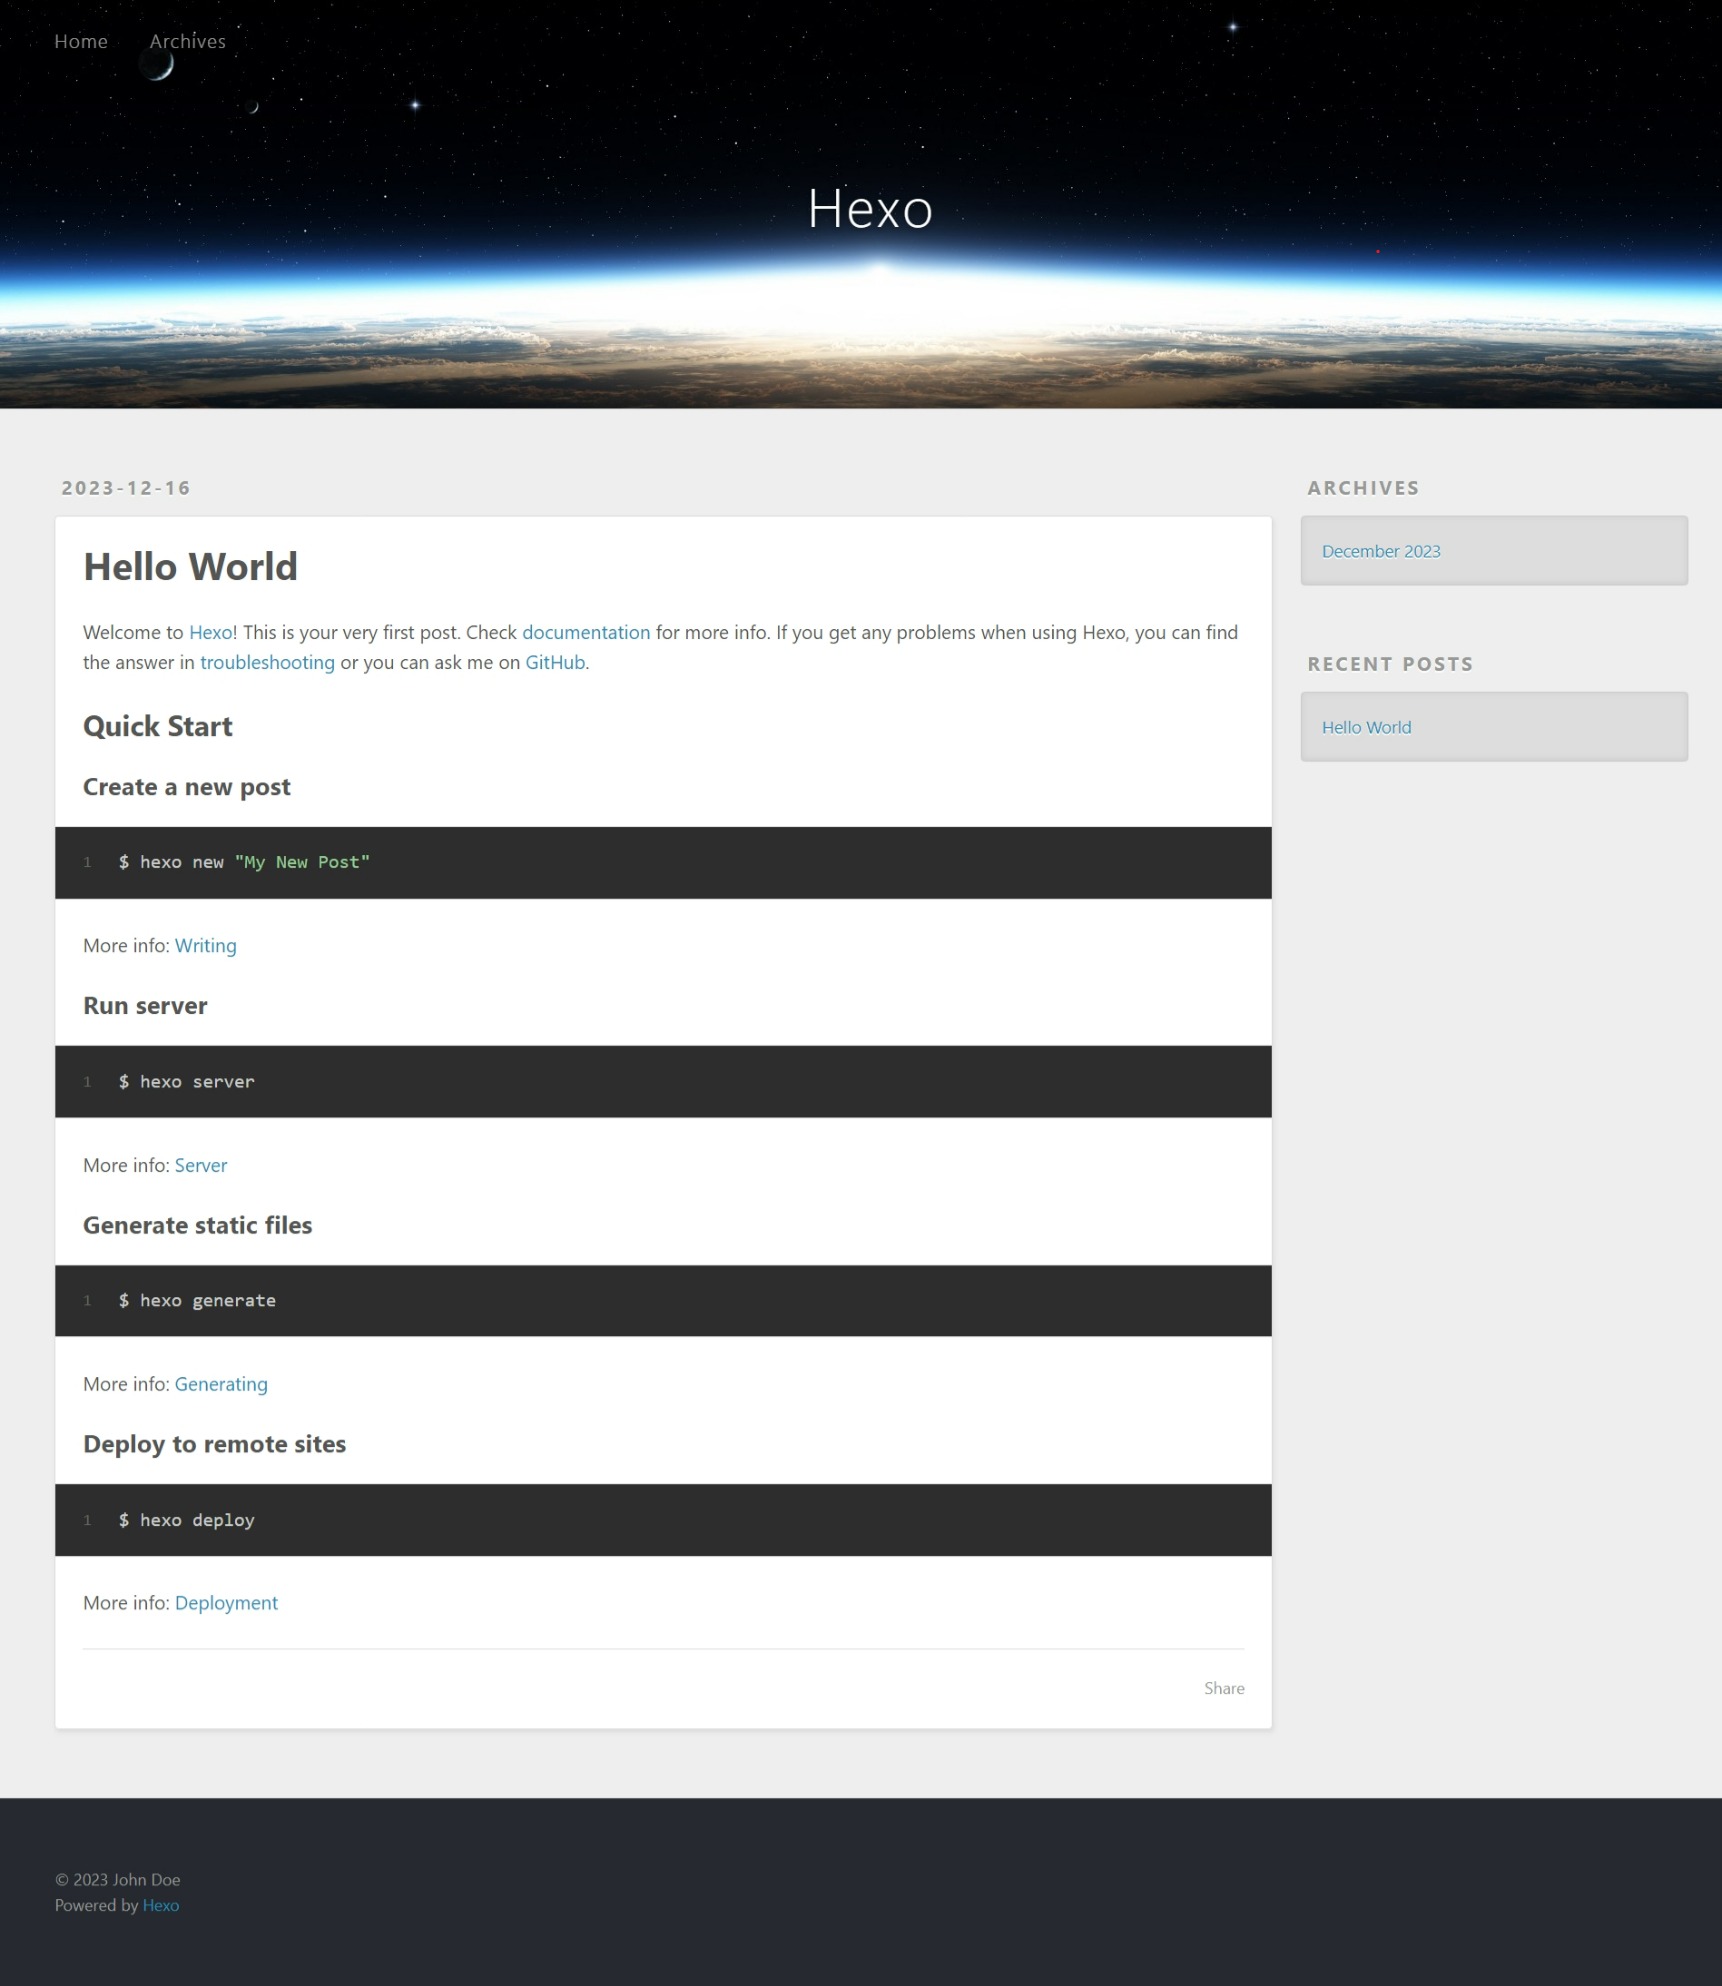
出现问题
如果以上步骤完成后出现无法访问的情况,可能是什么步骤出现了问题。若找不到原因,删除工作文件夹后以上步骤逐一排查,重试一遍以后一般都会正常。
自此,完成了站点文件环境的准备。以下的步骤都在这个文件夹内进行,文中相对文件路径父目录为这个文件夹。
站点整体设置
打开站点文件夹中的 _config.yml,这个文件是 Hexo 站点的整体设置。初始时的内容大概是这个:
# Hexo Configuration
## Docs: https://hexo.io/docs/configuration.html
## Source: https://github.com/hexojs/hexo/

# Site
title: Hexo
subtitle: ''
description: ''
keywords:
author: John Doe
language: en
timezone: ''

# URL
## Set your site url here. For example, if you use GitHub Page, set url as 'https://username.github.io/project'
url: http://example.com
permalink: :year/:month/:day/:title/
permalink_defaults:
pretty_urls:
  trailing_index: true # Set to false to remove trailing 'index.html' from permalinks
  trailing_html: true # Set to false to remove trailing '.html' from permalinks

# Directory
source_dir: source
public_dir: public
tag_dir: tags
archive_dir: archives
category_dir: categories
code_dir: downloads/code
i18n_dir: :lang
skip_render:

# Writing
new_post_name: :title.md # File name of new posts
default_layout: post
titlecase: false # Transform title into titlecase
external_link:
  enable: true # Open external links in new tab
  field: site # Apply to the whole site
  exclude: ''
filename_case: 0
render_drafts: false
post_asset_folder: false
relative_link: false
future: true
syntax_highlighter: highlight.js
highlight:
  line_number: true
  auto_detect: false
  tab_replace: ''
  wrap: true
  hljs: false
prismjs:
  preprocess: true
  line_number: true
  tab_replace: ''

# Home page setting
# path: Root path for your blogs index page. (default = '')
# per_page: Posts displayed per page. (0 = disable pagination)
# order_by: Posts order. (Order by date descending by default)
index_generator:
  path: ''
  per_page: 10
  order_by: -date

# Category & Tag
default_category: uncategorized
category_map:
tag_map:

# Metadata elements
## https://developer.mozilla.org/en-US/docs/Web/HTML/Element/meta
meta_generator: true

# Date / Time format
## Hexo uses Moment.js to parse and display date
## You can customize the date format as defined in
## http://momentjs.com/docs/#/displaying/format/
date_format: YYYY-MM-DD
time_format: HH:mm:ss
## updated_option supports 'mtime', 'date', 'empty'
updated_option: 'mtime'

# Pagination
## Set per_page to 0 to disable pagination
per_page: 10
pagination_dir: page

# Include / Exclude file(s)
## include:/exclude: options only apply to the 'source/' folder
include:
exclude:
ignore:

# Extensions
## Plugins: https://hexo.io/plugins/
## Themes: https://hexo.io/themes/
theme: landscape

# Deployment
## Docs: https://hexo.io/docs/one-command-deployment
deploy:
  type: ''
一些刚建站会用到的配置的解释:
title: 网站标题。显示在 HTML<title></title>和网站标题位置。subtitle: 网站副标题。显示在网站标题下面,小字。author: 网站所有者。通常显示在网站底部版权的地方。
其他的以后慢慢会用到。先把上面三个站点的信息填好吧。
YAML 格式
对于第一次使用 YAML 的很容易漏掉选项后的空格。
正确:theme: landscape
错误:theme:landscape
Hexo 命令
没有太多好说的。就在这里列举。
| 命令 | 缩写 | 解释 |
|---|---|---|
hexo init <folder> |
hexo i |
新建一个站点文件夹 <folder>,Hexo 会通过 Git clone hexo starter, hexo-theme-scape 并通过 NPM 下载部分依赖。 |
hexo list <type> |
hexo l <type> |
在命令行获取站点数据。<type> 值为 page post route tag category,例如 hexo l post 列出所有文章。 |
hexo new <post> |
hexo n <post> |
写一篇新文章,让 Hexo 在 ./source/_posts/ 下生成名为 <post>.md 的文件。 |
hexo generate |
hexo g |
让 Hexo 生成站点文件。 |
hexo server |
hexo s |
在本地运行网站,查看效果。 |
hexo clean |
清除生成的网页。 | |
hexo deploy |
hexo d |
部署站点。需要配置和依赖,下面会讲到。 |
通常来说,写完文章后运行:
$ hexo g
$ hexo d # -m "..."     # commit 信息,可选
部署到 Github Pages
博客自然需要进行部署,本地运行的博客别人看不到。我当时选择部署到 Github Pages 。
所以,当时注册了 Github(若未注册,先注册 Github ),然后连接本地,参照Git 的连接 Github 小记进行连接。
完成后,创建一个新的仓库,名为 <username>.github.io,<username> 为自己的用户名。打开 Settings -> Page,确保 Branch 已选择。
运行以下命令:
$ npm install hexo-deployer-git --save随后打开 _config.yml 文件,找到 deploy 字样,更改如下:
# Deployment
## Docs: https://hexo.io/docs/one-command-deployment
deploy:
  type: git
  repository: git@github.com:<username>/<username>.github.io.git # <username> 是你的 github 用户名
  branch: main # 具体看自己储存库的分支
更改完毕后,就可以运行 hexo d 部署到 Github Pages 了。访问 https://<username>.github.io,如果第一次部署,未显示就多等一会儿。完成后,就可以看到网站了。
修改和美化
下载主题 NexT
NexT 是一个很简洁美观且不断维护的 Hexo 主题。这个博客就是 Next 主题。
首先,进行下载,运行以下命令:
$ cd themes
$ git clone https://github.com/next-theme/hexo-theme-next.git
完成后,打开 config.yml,找到 theme 字样,更改如下:
# Extensions
## Plugins: https://hexo.io/plugins/
## Themes: https://hexo.io/themes/
theme: hexo-theme-next
找到 language 字样,更改其值为 zh-CN。
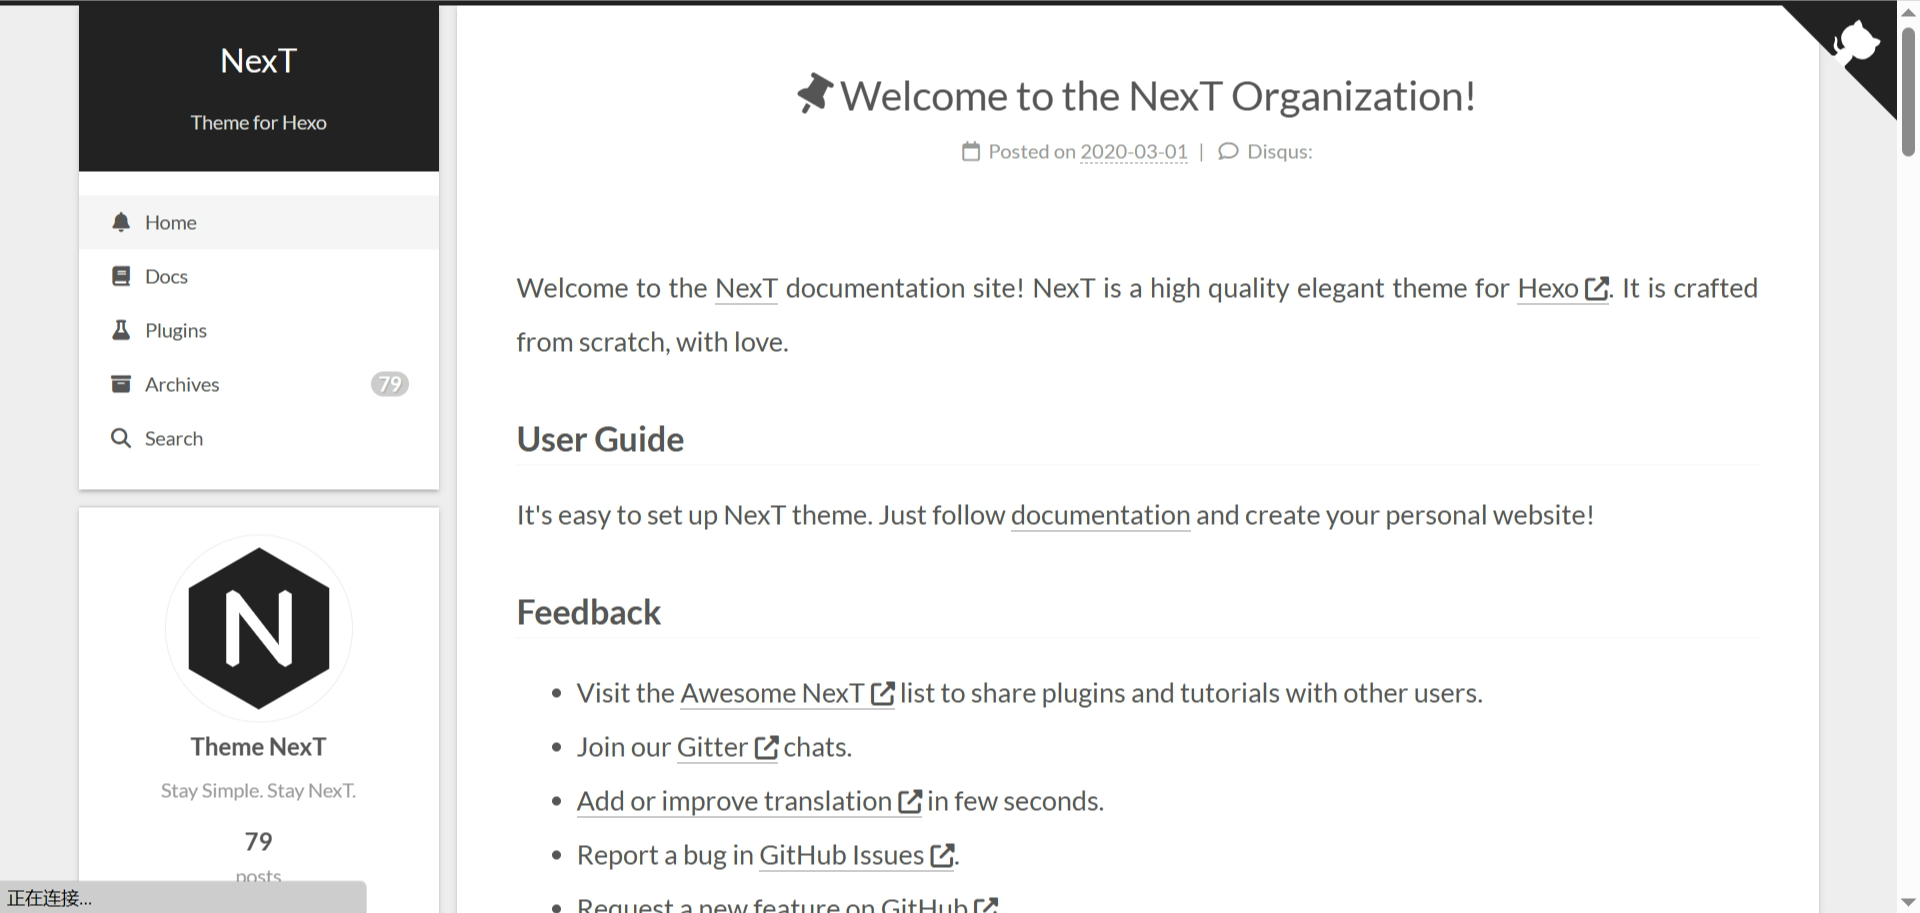
此时本地运行大概是这个样子: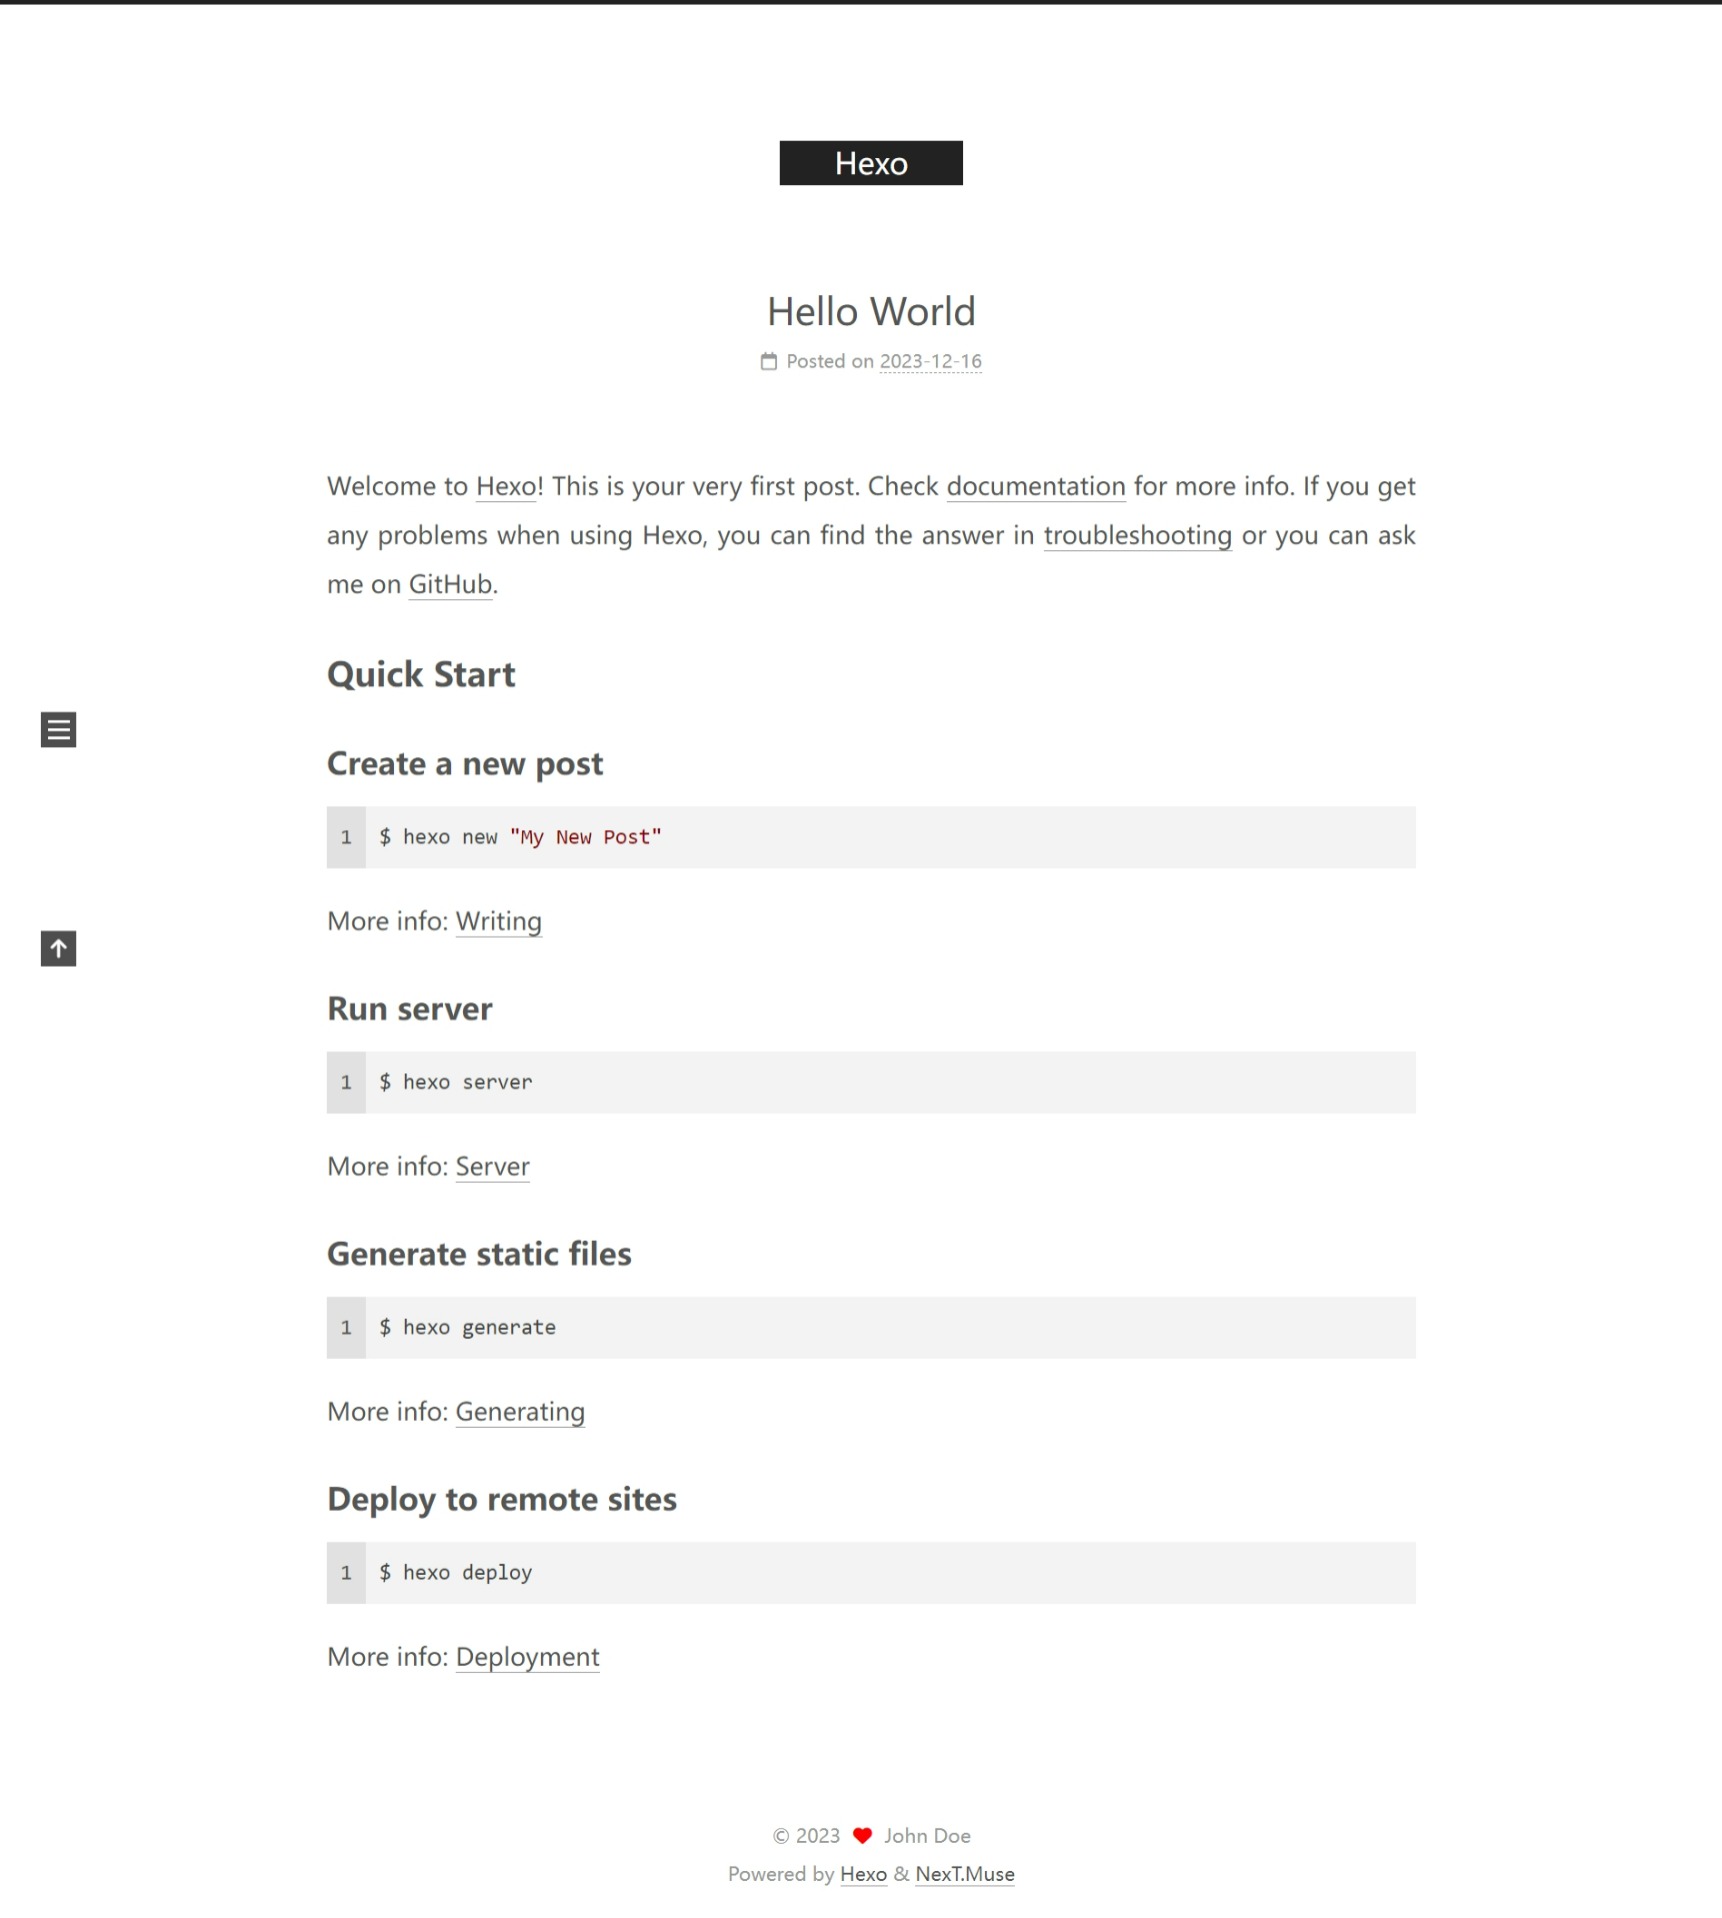
可以根据需要更改 NexT 主题。打开 themes/hexo-theme-next/_config.yml(主题配置文件)找到 scheme 字样,选择一个去掉 # 注释,把原本的用 # 注释上。例如:
# Schemes
#scheme: Muse
#scheme: Mist
scheme: Pisces
#scheme: Gemini
主题效果(图片和演示链接):
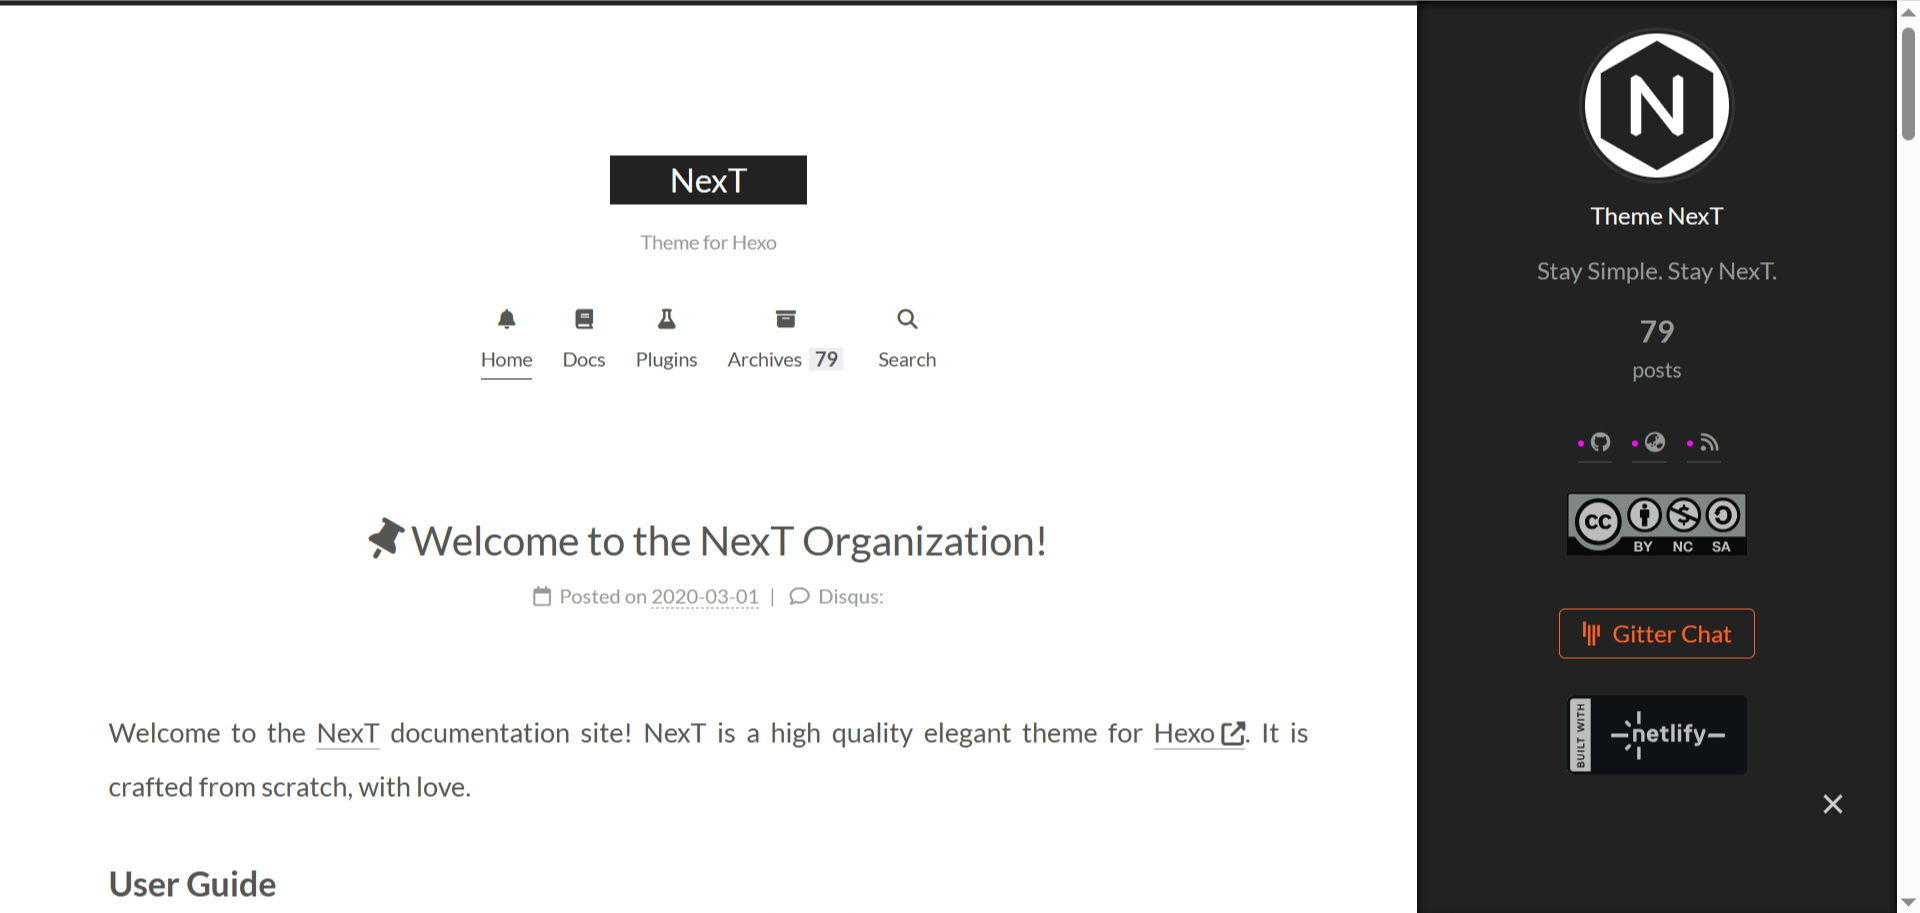
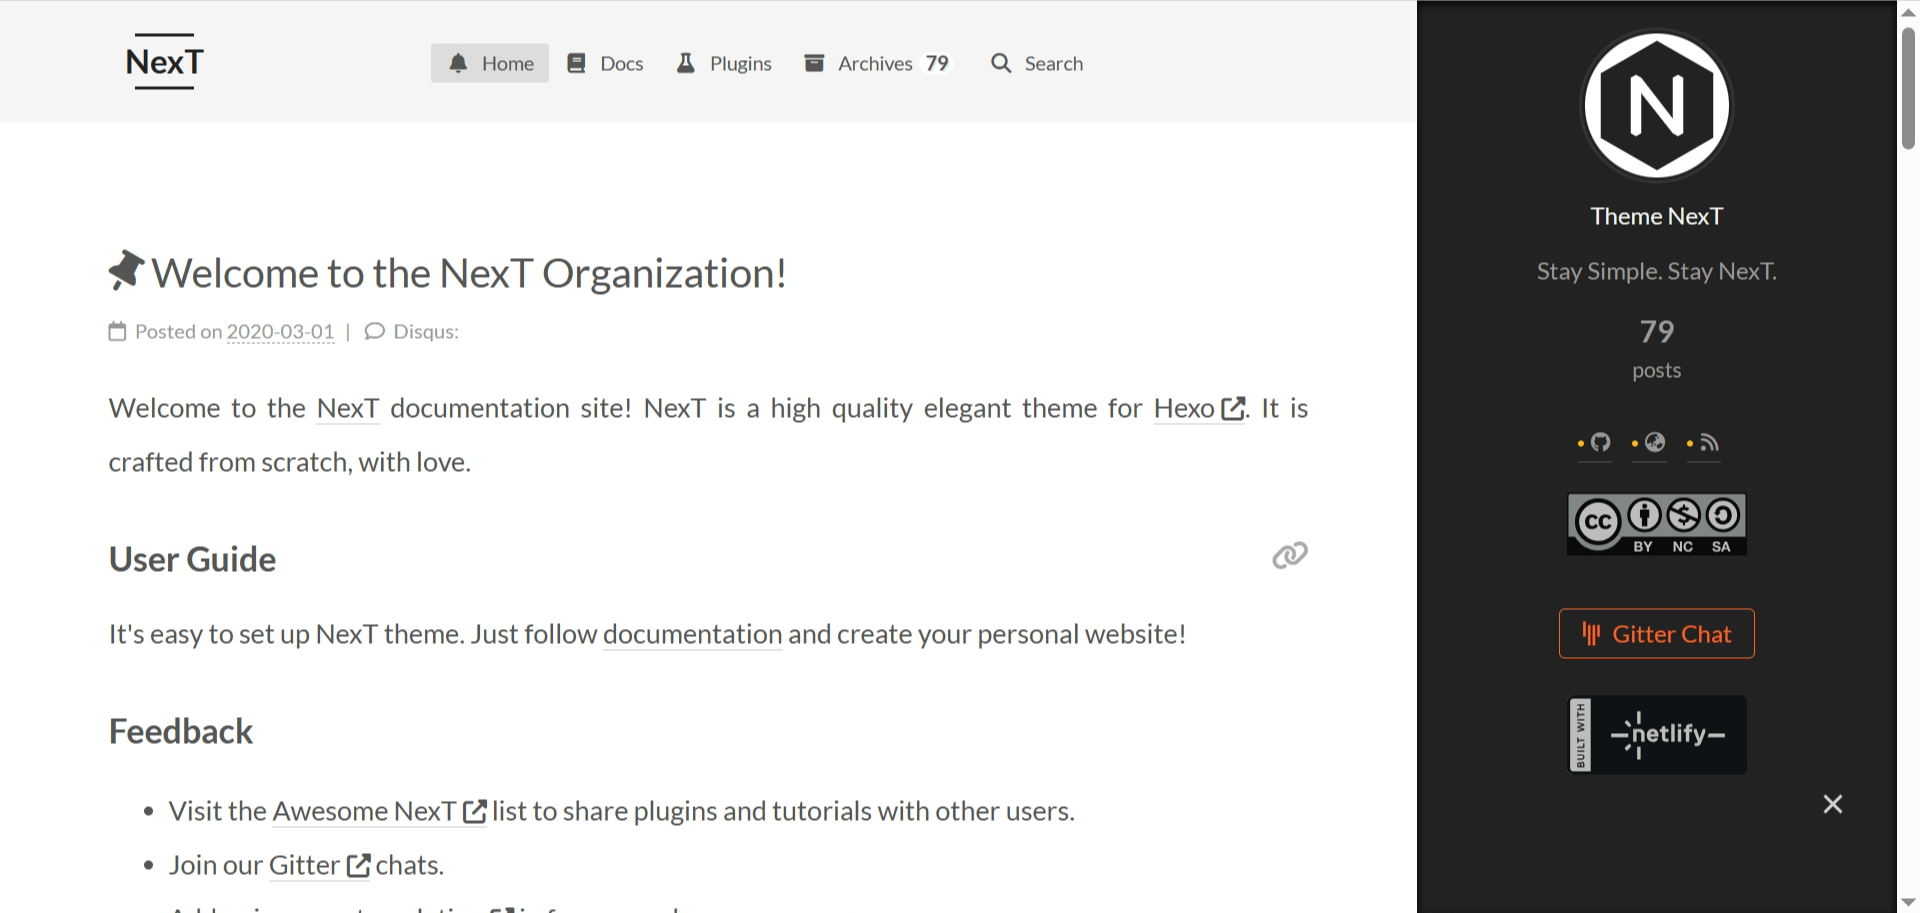
文档演示:https://theme-next.js.org/
自己用了这个 NexT 主题,敲好看的。
基础修改
主页面
原本的文章链接为 YYYY/MM/DD/:title(例如 /2023/11/04/hello),一大串日期很难看。我当时把他改为了 posts/:title,这样有很高的自由度(标题自定义)的同时保证了链接简短。
打开整体设置 _config.yml,找到 permalink,更改为:
  # URL
  ## Set your site url here. For example, if you use GitHub Page, set url as 'https://username.github.io/project'
  url: http://example.com
- permalink: :year/:month/:day/:title/
+ permalink: posts/:title/
当文章多的时候,一整页默认有十篇文章,很长,可以减小。
打开整体设置 _config.yml,找到 per_page,将它的的值更改为 5。这样每一页就会简约得多。
自定义浏览器里标签的图标
打开主题配置文件 themes/hexo-theme-next/_config.yml,找到 favicon,把自己的图标放到 theme/hexo-theme-next/source/images 内。三种尺寸:16x16、32x32、原大小、原大小 分别对应 small medium apple_touch_icon safari_pinned_tab,将其相应位置填写好。例如我这个博客的配置是:
favicon:
  small: /images/icon-16x16.png
  medium: /images/icon-32x32.png
  apple_touch_icon: /images/icon.png
  safari_pinned_tab: /images/icon.png
  #android_manifest: /manifest.json
菜单栏,新页面
此时,新博客只有两大主页面:文章,主页。这未免有些太单薄,最好有个分类标签一类的。NexT 已经帮我们做好了。
打开主题配置文件 themes/hexo-theme-next/_config.yml,找到 menu,把 home tags categories archives 前面的 # 注释都去掉。大概是这个样子:
menu:
  home: / || fa fa-home
  #about: /about/ || fa fa-user
  tags: /tags/ || fa fa-tags
  categories: /categories/ || fa fa-th
  archives: /archives/ || fa fa-archive
  #schedule: /schedule/ || fa fa-calendar
  #sitemap: /sitemap.xml || fa fa-sitemap
  #commonweal: /404/ || fa fa-heartbeat
你也可以更改 “||” 之后的图标,去 font-awesome.com 用英文搜索你想要的图标。例如 fa-rectangle-list 显示为
随后运行以下命令:
$ hexo new page tags
$ hexo new page categories
完成后打开 source/tags/index.md,在两个 --- 内新加一行 type: tags;
同样地,打开 source/tags/index.md,加一行 type: categories。
顺便你也可以更改它们的 title 值分别为 标签 和 分类。
完成以上所有步骤后,你我期待的像样的一个博客诞生了。此时,新拥有博客的人可以开始写作了
更多修改
CSS(Stylus) 方面
在 source 文件夹下新建文件夹 _data,在 source/_data 下新建文件 styles.styl,根据下面的代码注释插入你需要的内容:
// 隐藏顶部线条
.headband {
  display: none;
}
// 顶部边距
.header,
.main-inner {
  margin-top: 10px;

  +mobile() {
    margin-top: 0;
  }
}

// 图片圆角
.post-body img {
  border-radius: 8px
}

// 侧边栏圆角
header.header {
    background: var(--content-bg-color);
    border-radius: 5px 5px 5px 5px;
    box-shadow: 0 2px 2px 0 rgba(0,0,0,0.12), 0 3px 1px -2px rgba(0,0,0,0.06), 0 1px 5px 0 rgba(0,0,0,0.12);
}
.site-brand-container {
    border-radius: 5px 5px 0px 0px;
}
.sidebar-inner {
    background: var(--content-bg-color);
    border-radius: 5px;
    box-shadow: 0 2px 2px 0 rgba(0,0,0,0.12), 0 3px 1px -2px rgba(0,0,0,0.06), 0 1px 5px 0 rgba(0,0,0,0.12), 0 -1px 0.5px 0 rgba(0,0,0,0.09);
    box-sizing: border-box;
    color: var(--text-color);
    margin-top: 12px;
    max-height: calc(100vh - 24px);
}
// 文章圆角
.main-inner .sub-menu, .main-inner .post-block, .main-inner .tabs-comment, .main-inner > .comments, .main-inner .comment-position .comments, .main-inner .pagination {
    background: var(--content-bg-color);
    border-radius: 5px 5px 5px 5px;
    box-shadow: 0 2px 2px 0 rgba(0,0,0,0.12), 0 3px 1px -2px rgba(0,0,0,0.06), 0 1px 5px 0 rgba(0,0,0,0.12);
}

// 添加背景图片
body {
      background: url(/pic/background3.png);
      background-size: cover;
      background-repeat: no-repeat;
      background-attachment: fixed;
      background-position: 50% 50%;
      @media (prefers-color-scheme: dark) {
        background-image: none;
      }
}
随后,打开主题配置文件 themes/hexo-theme-next/_config.yml,找到 custom_file_path,把 style 子项的注释去掉。更改成这个样子:
custom_file_path:
  #head: source/_data/head.njk
  #header: source/_data/header.njk
  #sidebar: source/_data/sidebar.njk
  #postMeta: source/_data/post-meta.njk
  #postBodyStart: source/_data/post-body-start.njk
  #postBodyEnd: source/_data/post-body-end.njk
  #footer: source/_data/footer.njk
  #bodyEnd: source/_data/body-end.njk
  #variable: source/_data/variables.styl
  #mixin: source/_data/mixins.styl
  style: source/_data/styles.styl
以后可以根据自己的需要慢慢更改 styles.styl 的内容。
注意备份
任何修改都有可能出现错误,建议多进行备份原生成文件。有必要的话使用 git 进行版本控制,备份到远程仓库。否则出现错误很难改回来。尤其是更改了很多的时候。
插件:搜索功能 hexo-generator-searchdb
运行以下命令下载:
$ npm install hexo-generator-searchdb --save打开主题配置文件 themes/hexo-theme-next/_config.yml,找到 local_search 项,更改如下:
  local_search:
-   enable: false
+   enable: true
    # If auto, trigger search by changing input.
    # If manual, trigger search by pressing enter key or search button.
    trigger: auto
    # Show top n results per article, show all results by setting to -1
    top_n_per_article: 1
    # Unescape html strings to the readable one.
    unescape: false
    # Preload the search data when the page loads.
    preload: false
此时,在菜单栏中的搜索已出现,可以点击并键入进行搜索了。
插件:置顶功能 hexo-generator-index-pin-top
运行以下命令下载:
$ npm install hexo-generator-index-pin-top --save如果需要置顶一篇文章,在这篇文章的 Front-matter 中添加:
top: true可以给置顶的文章增加标识。在 source/data 下新建文件 post-meta.njk:
{% if post.top %}
  <div style="padding-left: 8px;">
    <span class="post-meta-divider" style="padding-right: 8px;">|</span>
    <span color=black style="color: #000000; font-weight: bold; padding-left: 4px;"> <i class="fa fa-thumbtack"></i> </span>
    <span style="color: #000000; font-weight: bold; padding-left: 4px;"> 置顶 </span>
  </div>
{% endif %}
打开主题配置文件 themes/hexo-theme-next/_config.yml,找到 custom_file_path,把 postMeta 的注释去掉。
写作
运行 hexo new name 就可以在 source/_posts 下新建一篇名为 name.md 的文章。原本是这样的:
---
title:
date:
tags:
---
两个 --- 之内的内容叫做 Front-matter,它是这个文章的信息(变量)。以下是会增加和修改的东西:
title: 文章标题date: 建立日期tags: 标签,可以有多个。categories: 分类,可以有多个。
多个标签的标注方法用 - 多行,多个同级分类用 - [],如:
---
tags:
- 生活
- 美好
categories:
- [生活]
- [美好]
---
这样,这篇文章就有两个标签,两个分类。
进行正常写作时使用 Markdown 语法,或者可以安装其他插件使用其他语言写作。
警告
写了好长时间,还相当于自己又建了一个博客,不建议像我这样写这么长的文章(狗头)
开玩笑的啦~
工作区终于清静了。。。